Last Updated on October 28, 2023 by Kravelv Spiegel
As your HVAC system ages, unforeseen problems may arise that require expert attention, while some issues can be remedied with simple DIY troubleshooting techniques.
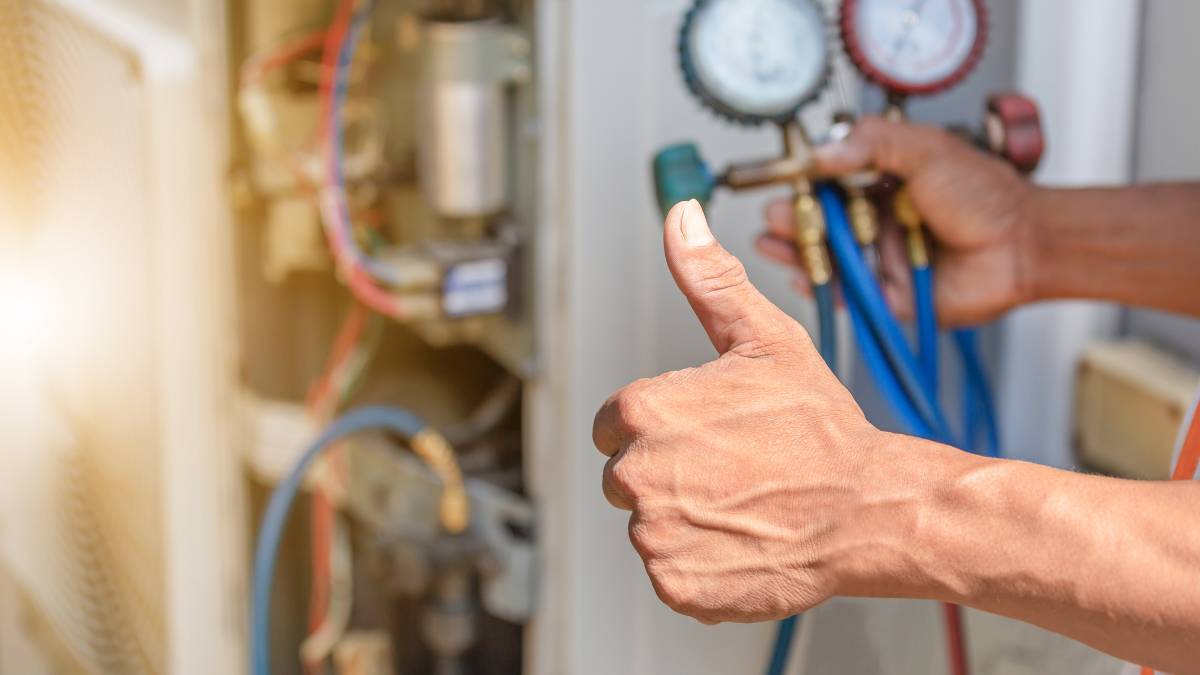
When addressing HVAC issues, starting with simple troubleshooting like checking the circuit breaker is a good first step; for reliable furnace repair in Erie, CO, you can contact IMS.
1. Check the thermostat
Thermostats need to draw power from their respective breaker box. A tripped breaker may prevent your thermostat from receiving enough electricity to communicate effectively with your furnace or air conditioning unit. If that becomes an issue, reset it by switching it repeatedly to restore functionality.
One thing that could impact a thermostat’s functionality is if its batteries run low; replacing these can make a dramatic contrast when running an HVAC system effectively.
Location can also cause your thermostat to malfunction; to remedy it quickly and easily, move it. Poor positioning could result in inaccurate temperature readings that force overwork of your system.
Your thermostat could also have been incorrectly programmed; consult your owner’s manual for instructions on adequately accessing its controls.
Recalibrating is also essential to maintaining your system. If problems still remain after doing this, seek professional assistance, as they possess both electrical and HVAC expertise that could assist you.
2. Check the furnace
One of the most commonly experienced HVAC issues involves furnace issues. If it doesn’t turn on, try changing its settings or checking to see if its air filter has become dirty, which would block airflow and potentially damage your system.
When thermostat settings cause issues – turning on at random times or failing altogether – check batteries or whether or not the thermostat features a power switch (e.g., similar to a light switch).
Your furnace’s sound can indicate many different things. Still, one key takeaway should always be remembering: any sign of gas leakage is dangerous and should be addressed immediately. Anytime a “booming” noise comes from it, it may indicate dust or rust blocking gas jets and should be immediately addressed with professional cleaning services.
One possible issue could be that the heat exchanger may be cracked, which can release carbon monoxide into your home and pose a serious danger. When this occurs, professional services should address it immediately, as this situation could prove fatal for you and your family.
3. Check the circuit breaker
Though it might be tempting to ignore a repeatedly tripping circuit breaker and simply reset it when necessary, doing so can damage wiring and increase fire risk.
Instead of simply resetting a breaker that has tripped, take the time to investigate why. Remove the cover of your breaker box – usually secured with screws that can be unfastened with a screwdriver – to gain access to the power lead of each breaker and determine why they may have come loose.
Once this has been completed, identify which switch was activated and what it protects. After unplugging any appliance associated with that breaker and running tests with a multimeter, remember whether any are in working order; otherwise, it would likely require professional inspection to diagnose more severe issues.
A breaker box’s primary function is to cut power from your wiring if too many amps are drawn at once, providing important safety benefits and should be checked every three months at a minimum. If it has been tripping more frequently than normal, this may indicate an overly expansive load, and professional intervention should be sought immediately.
4. Check the power
Check your electrical panel to locate and check on the air conditioner-controlled breaker. If tripped, simply reset it by turning it off and then on again; otherwise, replace it with a new fuse and check whether that has solved your problems.
Once again, using your multimeter, check to ensure power flows into and out of the transformer. Doing this requires learning the basics of multimeter use – set it on its lowest ohms scale setting, then touch its red and black leads on each fuse to see their readings.
One to 100 indicates good fuses, while any reading that includes either zero, minus symbol, or infinity symbol indicates they have been compromised and should be replaced immediately.
Homeowners can often manage minor HVAC problems, while more serious issues require professional assistance. Follow these tips to protect against costly HVAC issues that have recently experienced storms or power outages.