Last Updated on May 15, 2024 by Kravelv Spiegel
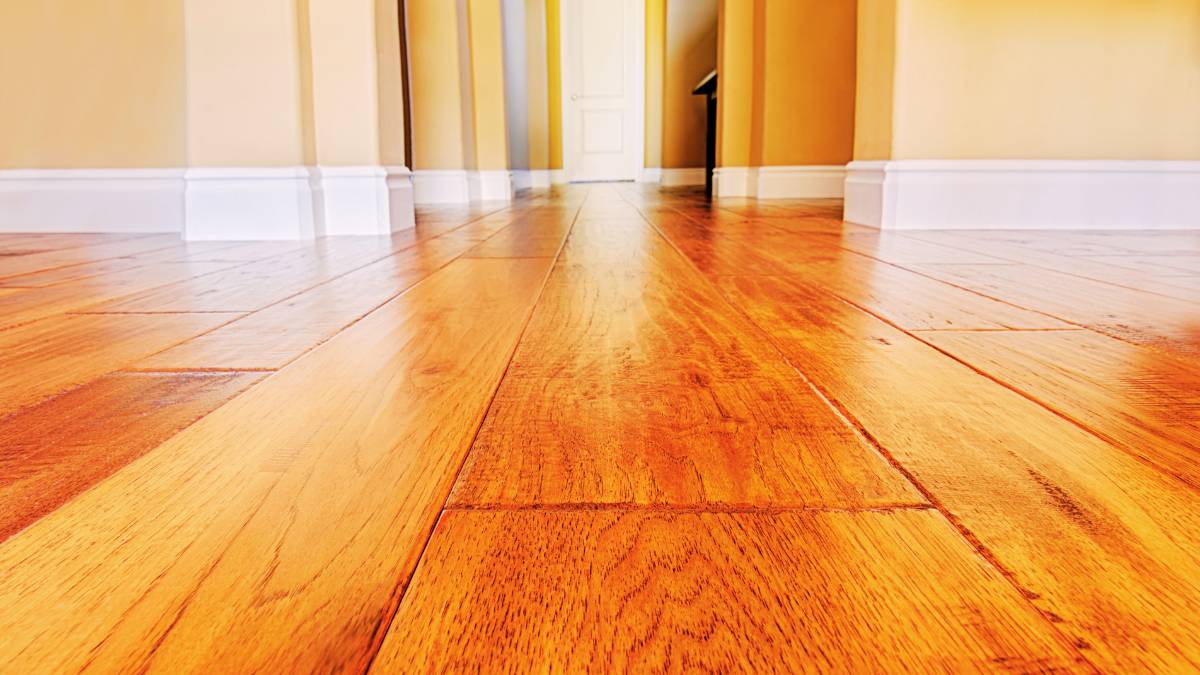
Water damage to hardwood floors can be a homeowner’s worst nightmare. Excess water may swiftly seep into hardwood floors, resulting in warping, cupping, and discoloration, regardless of the source—a broken pipe, floods, or a leaking appliance. In order to stop more damage and return your hardwood floors to their former state, prompt water removal is necessary. In this tutorial, we’ll go over eight methods that will help you dry wet hardwood floors in Springfield and ensure a quick and easy recovery from water damage.
Step 1: Assess the Damage
Determining the extent of the damage to your hardwood floors is the first stage in the water cleanup procedure. Examine the impacted region closely, keeping an eye out for any indications of warping, discoloration, or soft places in the wood. To stop more damage, identify the source of the water incursion and take action to stop any ongoing leaks or floods.
Step 2: Remove Standing Water
Once you’ve assessed the damage, begin by removing any standing water from the surface of the hardwood floors. To stop excess water from spreading, use a wet/dry vacuum or mop to remove it, moving from the room’s boundaries toward its center.
Step 3: Increase Air Circulation
Increase air circulation in the impacted area by opening windows and doors, utilizing fans, or using dehumidifiers to speed up the drying process. Circulating air helps to evaporate moisture trapped within the hardwood floors and promotes faster drying.
Step 4: Use Absorbent Materials
To absorb any residual moisture, place absorbent items, such towels or rags, over the damp hardwood flooring. Press down gently to encourage absorption and replace the materials as needed until no more moisture is being absorbed.
Step 5: Apply a Hardwood Floor Cleaner
Once the excess water has been removed, clean the hardwood floors with a hardwood floor cleaner to remove any dirt, debris, or contaminants that may have been brought in with the water. To prevent harming the wood, use a cleaner designed especially for hardwood floors.
Step 6: Monitor Moisture Levels
Throughout the drying process, monitor moisture levels in the hardwood floors using a moisture meter. Ideally, moisture levels should be below 12% to prevent the risk of mold growth and further damage to the wood.
Step 7: Sand and Refinish
If the hardwood floors have sustained significant water damage or staining, sanding and refinishing may be necessary to restore their appearance. Hire a professional flooring contractor in Springfield to sand down the damaged areas and apply a new finish to protect the wood and restore its natural beauty.
Step 8: Prevent Future Water Damage
Once your hardwood floors have been dried and restored, take steps to prevent future water damage. Install a moisture barrier underlayment beneath hardwood floors in areas prone to water intrusion, such as kitchens, bathrooms, and basements. Promptly address any leaks or flooding to prevent water from seeping into the floors and causing damage.
Conclusion
Water damage to hardwood floors can be a daunting challenge for homeowners, but with the right approach, it’s possible to effectively remove water and restore your floors to their original condition. By following these eight steps to dry wet hardwood floors in Springfield, you can mitigate damage, prevent mold growth, and preserve the beauty and integrity of your hardwood floors for years to come. If you require assistance with water removal or restoration services, don’t hesitate to contact a reputable water removal Springfield for professional help. With prompt action and proper care, you can protect your hardwood floors and enjoy them for many years to come.