Last Updated on June 7, 2024 by Kravelv Spiegel
Zinc roof strips are a popular choice for roofing due to their durability, corrosion resistance, and low maintenance. They also add an aesthetic appeal to the roof, giving it a sleek and modern look. This guide will provide a detailed overview of the installation process for zinc roof strips, covering materials needed, preparation, installation steps, and maintenance tips.
Key Takeaways:
- Gather necessary materials and prepare the roof deck by cleaning and marking the layout.
- Install waterproof underlayment, ensuring proper overlap and secure attachment.
- Start from the bottom, overlap strips, apply sealant, and secure each strip, including cutting for roof features.
- Install ridge and hip caps, inspect all joints, and perform regular maintenance and cleaning for longevity.
Materials and Tools Needed
Before starting the installation, gather the necessary materials and tools:
- Zinc Roof Strips: Pre-measured and cut to fit the roof dimensions.
- Fasteners: Stainless steel screws or nails to prevent corrosion.
- Underlayment: Waterproof membrane to protect the roof deck.
- Sealant: Zinc-compatible sealant to ensure waterproof joints.
- Safety Gear: Gloves, safety glasses, and harness for working at heights.
- Measuring Tape: For accurate measurements.
- Chalk Line: To ensure straight lines during installation.
- Tin Snips: For cutting zinc strips if needed.
- Drill/Screwdriver: For fastening the strips.
- Ladder/Scaffolding: For safe access to the roof.
- Hammer: For nailing strips in place.
Preparation
Inspection: Inspect the roof deck to ensure it is in good condition. Repair any damaged areas before installation.
Cleaning: Clean the roof deck of any debris, dirt, or old roofing material.
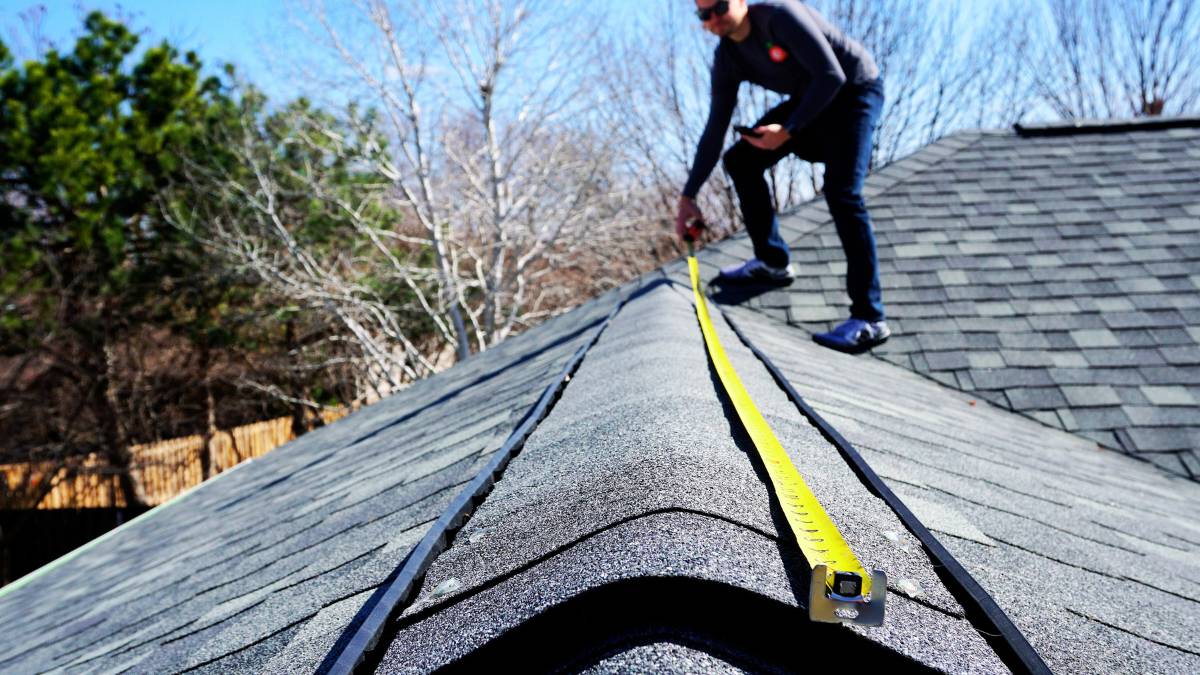
Measuring and Marking: Measure the roof area accurately and mark the layout using a chalk line to ensure straight and evenly spaced strips.
Underlayment Installation
- Roll Out the Underlayment: Start at the lowest point of the roof and roll out the underlayment horizontally across the roof deck.
- Overlap: Ensure each row overlaps the previous row by at least 6 inches to provide adequate protection against water infiltration.
- Secure the Underlayment: Use fasteners to secure the underlayment to the roof deck, ensuring it is tight and free of wrinkles.
Installing Zinc Roof Strips
- Starting at the Bottom: Begin at the bottom edge of the roof, usually at the eaves. This ensures that water will run over the seams rather than into them.
- Align the First Strip: Place the first zinc strip along the edge, ensuring it is straight and aligned with the chalk line.
- Fastening: Secure the strip to the roof deck using stainless steel screws or nails. Space the fasteners evenly, typically every 12-16 inches.
- Overlapping Strips: For the next row, overlap the strips by at least 1 inch. This overlap will help prevent water from seeping through the joints.
- Securing Overlaps: Apply a bead of zinc-compatible sealant along the overlap edge before securing the next strip. This provides an extra layer of waterproofing.
- Continue Up the Roof: Repeat the process, working your way up the roof. Ensure each strip is properly aligned and overlapped.
- Cutting Strips: Use tin snips to cut the zinc strips to fit around roof features such as chimneys, vents, and skylights. Be precise to maintain the waterproof integrity.
Ridge and Hip Cap Installation
- Ridge Cap: Install zinc ridge caps along the roof’s peak. These should overlap the top row of zinc strips and be secured with fasteners.
- Hip Caps: If the roof has hips, install zinc hip caps in a similar fashion, ensuring they overlap the zinc strips and are properly sealed.
Final Sealing and Inspection
- Seal All Joints: Apply zinc-compatible sealant to all joints and seams to ensure they are watertight.
- Inspection: Thoroughly inspect the roof to ensure all strips are securely fastened and properly aligned. Check for any gaps or loose areas.
Maintenance Tips
- Regular Inspections: Periodically inspect the zinc roof for any signs of damage or loose strips. Address any issues promptly to maintain the roof’s integrity.
- Cleaning: Clean the roof surface to remove debris and prevent buildup that can cause corrosion or block water flow.
- Touch-Up: Apply zinc-compatible paint or sealant to any areas showing signs of wear or damage to prolong the roof’s lifespan.
Safety Considerations
- Working at Heights: Always use proper safety equipment when working on the roof. Use a harness and secure yourself to prevent falls.
- Weather Conditions: Avoid installing zinc roof strips in wet or windy conditions to ensure safety and proper adhesion of materials.
- Handling Zinc: Wear gloves when handling zinc strips to protect your hands from sharp edges.
Final Words
Installing zinc roof strips is a process that requires careful planning, precise execution, and attention to detail. By following this comprehensive guide, you can ensure a durable, aesthetically pleasing, and long-lasting zinc roof. Proper preparation, installation, and maintenance will ensure that your zinc roof provides reliable protection and adds value to your property for many years to come.