Last Updated on April 26, 2026 by Kravelv Spiegel
💡Key Takeaways:
A kitchen faucet leaking at the base is usually caused by worn-out O-rings, damaged seals, or loose internal components, and it can often be fixed by tightening parts or replacing inexpensive rubber rings. The leak typically appears when water seeps around the base of the faucet instead of coming from the spout. In most cases, this is a maintenance issue rather than a major plumbing failure. Fixing it early prevents water damage, mold growth, and higher repair costs.
Why This Problem Matters More Than You Think
A small leak at the base of your kitchen faucet might seem harmless, but it can quietly cause long-term damage. Water pooling around the base can seep into your countertop, cabinets, and even the subfloor. Over time, this can lead to wood rot, mold growth, and expensive repairs that go far beyond a simple faucet fix.
Most homeowners ignore this issue because the leak appears minor or inconsistent. But the longer it goes unchecked, the more damage it can cause. Understanding what’s actually happening—and how to fix it—can save you time, money, and frustration. This guide breaks down the causes, solutions, and prevention strategies in a way that’s easy to follow and act on immediately.
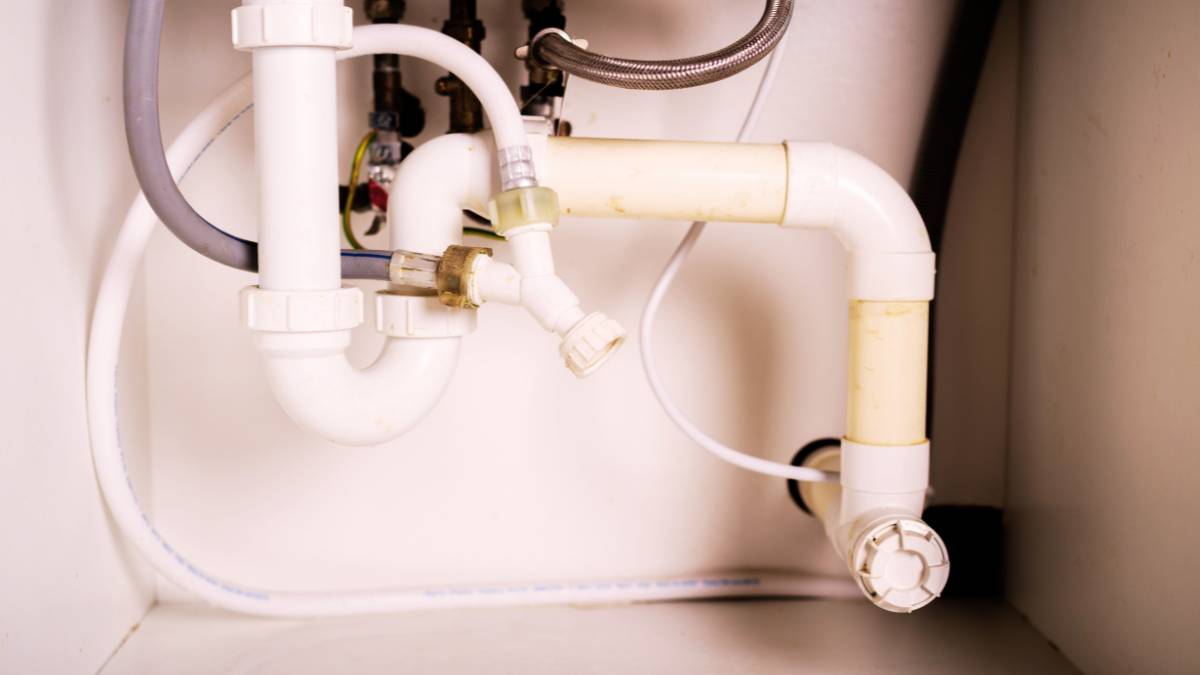
What causes a kitchen faucet to leak at the base?
A kitchen faucet leaks at the base when internal seals fail or components loosen, allowing water to escape around the handle or faucet body.
Inside your faucet are small rubber parts—mainly O-rings and gaskets—that create a watertight seal. Over time, these parts wear out due to friction, mineral buildup, and constant water pressure. Once they degrade, water begins to leak from the base instead of flowing properly through the spout.
Another common cause is loose mounting hardware or worn cartridges. If the faucet isn’t tightly secured or the internal cartridge is damaged, water can find its way out through the base.
Most common causes:
- Worn-out O-rings
- Damaged seals or gaskets
- Loose faucet base or mounting nut
- Corroded or worn cartridge
- Mineral buildup inside the faucet
How do you fix a kitchen faucet leaking at the base?
Fixing a leaking faucet base usually involves disassembling the faucet and replacing worn internal parts like O-rings or cartridges.
The process is straightforward if you follow the correct steps. Most repairs require basic tools and inexpensive replacement parts.
Start by turning off the water supply under the sink. Then, remove the handle and disassemble the faucet to access the internal components. Inspect the O-rings and seals for wear or cracks, and replace them if necessary. Reassemble the faucet and test for leaks.
If the leak persists, the cartridge may need to be replaced.
Basic repair steps:
- Turn off water supply
- Remove faucet handle
- Disassemble faucet body
- Replace O-rings or seals
- Reassemble and test
How long does it take to fix a leaking faucet base?
Most faucet base leaks can be fixed in 30 to 60 minutes, depending on the faucet type and your experience level.
Simple fixes, like replacing an O-ring, can take less than 30 minutes. More complex repairs involving cartridges or heavily corroded parts may take longer, especially if parts are difficult to remove.
If you’re hiring a plumber, the job is usually completed in a single visit. However, DIY repairs are often faster if you already have the necessary tools and replacement parts.
Estimated repair time:
- Simple O-ring replacement: 20–30 minutes
- Cartridge replacement: 30–60 minutes
- Complex or corroded parts: 1–2 hours
What tools and parts do you need for the repair?
You only need a few basic tools and inexpensive parts to fix most faucet leaks at the base.
Having the right tools makes the process faster and prevents damage to your faucet. Most tools are commonly found in a basic household toolkit.
Replacement parts should match your faucet model to ensure a proper fit and seal.
Essential tools:
- Adjustable wrench
- Screwdriver (flathead or Phillips)
- Allen wrench (for handle removal)
- Plumber’s grease
Common replacement parts:
- O-rings
- Rubber seals or gaskets
- Faucet cartridge
When should you replace the faucet instead of repairing it?
You should replace the faucet if repairs don’t stop the leak or if the unit is old and heavily corroded.
While most leaks can be fixed cheaply, there are situations where replacement is the better option. If your faucet continues leaking after multiple repairs, the internal structure may be too worn to seal properly.
Older faucets may also lack readily available replacement parts, making repairs more difficult and less cost-effective.
Signs you should replace the faucet:
- Persistent leaks after repair
- Visible corrosion or rust
- Frequent recurring issues
- Outdated or unsupported model
What happens if you ignore a leak at the base?
Ignoring a leaking faucet base can lead to water damage, mold growth, and higher repair costs.
Even a slow leak can cause significant damage over time. Water can seep into areas you can’t see, weakening materials and creating an environment for mold to grow.
Increased water usage can also raise your utility bills without you realizing it.
Potential consequences:
- Cabinet and countertop damage
- Mold and mildew growth
- Higher water bills
- Structural damage over time
How can you prevent a kitchen faucet from leaking at the base?
Preventing leaks comes down to regular maintenance and early intervention.
Most faucet leaks develop gradually, so catching early signs can prevent bigger problems. Cleaning your faucet and checking for wear can extend its lifespan.
Avoid overtightening components, as this can damage seals and cause leaks.
Prevention tips:
- Clean mineral buildup regularly
- Check for loose parts
- Replace worn O-rings early
- Avoid excessive force when using the handle
- Inspect faucet every few months
This usually indicates worn O-rings or seals that fail under pressure when water flows.
It’s not immediately dangerous, but it can cause long-term damage like mold and wood rot.
Sometimes tightening components works, but most leaks require replacing worn seals.
DIY repairs usually cost under $20, while hiring a plumber may cost $75–$150.
Most modern faucets do, but the design may vary depending on the brand and model.
The issue may be a damaged cartridge or improper installation.
Plumber’s tape is usually not needed for internal faucet components.
It depends on usage, but checking every 1–2 years is a good practice.
Final words
A kitchen faucet leaking at the base is usually a simple fix caused by worn seals or loose components, and it can often be resolved in under an hour. Addressing the issue early prevents water damage and keeps repair costs low.
Start by inspecting your faucet and replacing worn O-rings or seals. If the problem persists, consider replacing the cartridge or the entire faucet.